
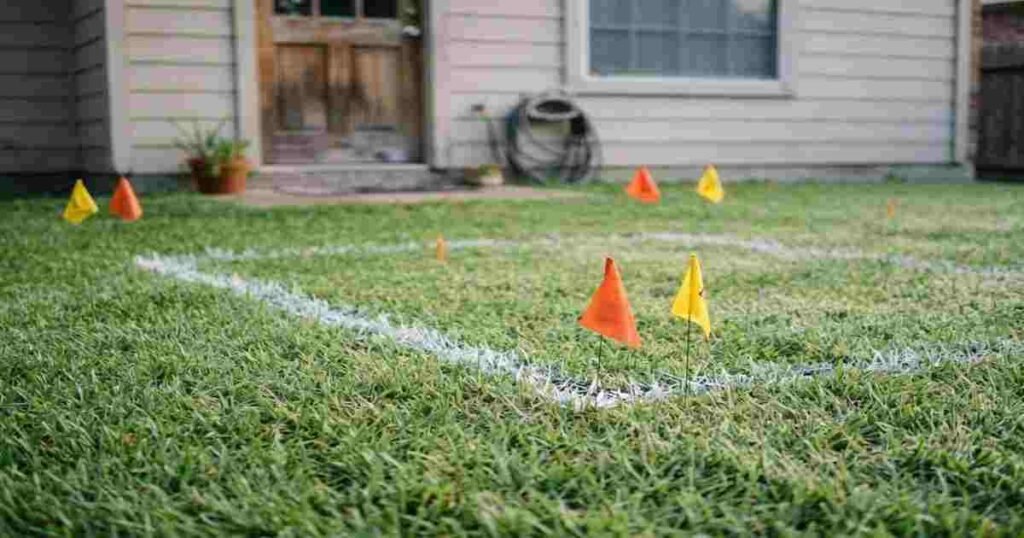
A new patio, pool, or fence looks like a simple weekend lawn project. Mark the spot, grab a shovel, and get going. But the yard under your feet is crowded with pipes, wires, old footings, and buried slabs, and most of it doesn’t show on the surface.
Thank you for reading this post, don't forget to subscribe!One careless strike can cut your internet, rupture a gas line, or snap the main feeding your sprinkler zones. Even a minor hit means a repair bill, a torn-up lawn, and a project that stalls for weeks. This guide covers what’s down there, who’s responsible for marking it, and how to protect your turf while you plan.
What Is Actually Under Your Yard
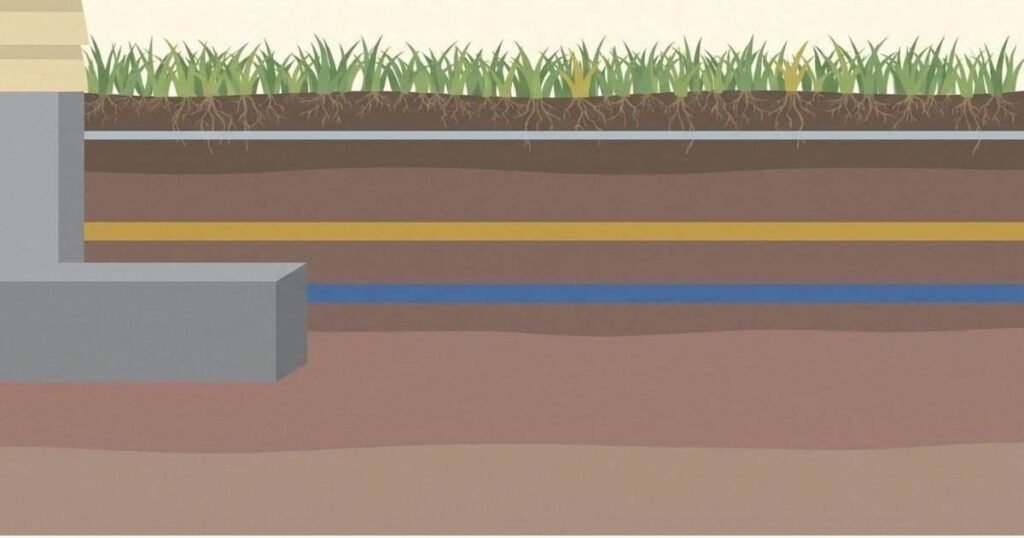
Public utilities, private irrigation lines and existing concrete often share the same few feet of soil
Think of your lawn as a layered sandwich. Near the street sit the public utilities: gas, water, sewer, electric, and telecom lines, usually owned by the utility company. Closer to the house you’ll find the private lines you own. Irrigation pipes typically run 6 to 12 inches deep, and most are PVC, which a metal detector can’t pick up. Garden lighting cables, pool equipment lines, shed wiring, and septic connections often sit in the same shallow band.
Then there’s what previous owners left behind. Say you’re replacing a cracked patio or extending an old driveway slab. Before anyone cuts, cores, or drills, you need to know where the rebar, post-tension cables, and conduit run. Hitting a tensioned cable can be dangerous, and it can ruin an otherwise sound slab. Many contractors now rely on gpr concrete scanning to see inside the concrete first so they can pick a cutting line that clears everything embedded in it.
The scale of the problem is bigger than most homeowners think. The Common Ground Alliance analyzed 196,977 damage reports for its 2024 DIRT Report, and its damage index rose from 94.0 in 2023 to 96.7 in 2024, according to the CGA’s own release. The group says the industry is off track for its 50-in-5 goal. That’s a lot of shovels meeting a lot of pipes.
Calling 811 Is Step One, Not the Whole Job
Start with 811. It’s a free service, and you should call it a few days before any digging. Lead times vary by state. Washington asks for two business days’ notice, while Pennsylvania requires three.
Don’t treat the paint and flags as exact, though. Locate marks are approximate, and many states require hand-digging within a tolerance zone around them, often about two feet. New York 811’s homeowner guidance walks through the notice process and what the marks mean, and it’s worth a read before you pick up a spade.
Here’s the catch most people miss. 811 covers public utilities up to the meter. It doesn’t mark the private lines beyond it: your irrigation system, pool equipment, garden lighting, or the power run to a backyard shed. Finding those is on you.
Check your sprinkler layout drawings if you have them, locate valve boxes, and hire a private locating service when you can’t account for a line. It costs a little. A broken sprinkler main costs more.
The same goes for what’s inside concrete. A utility locator won’t tell you where rebar sits in a driveway. That’s a separate scan, and it’s the reason to book one before any cutting starts.
Protecting Your Lawn While You Plan the Project
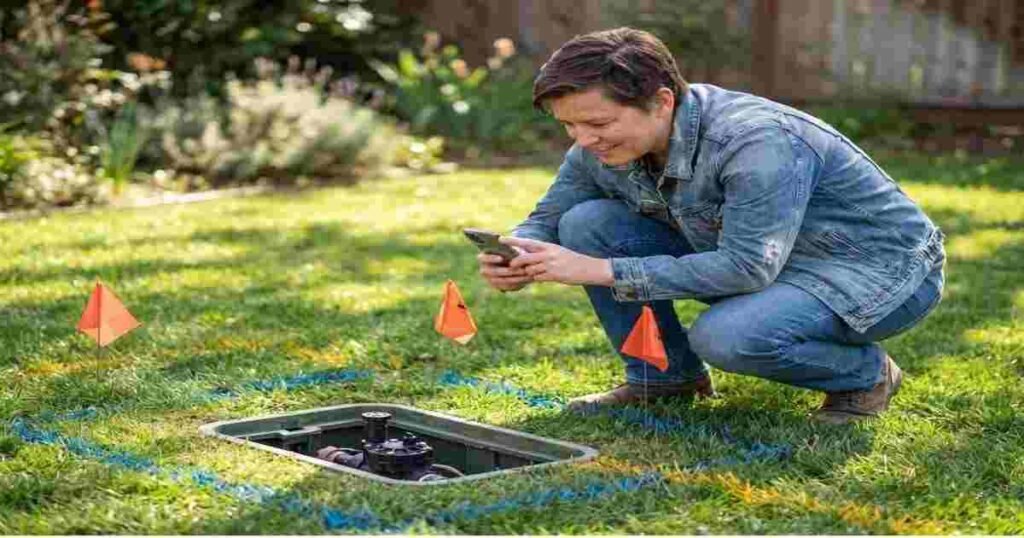
A homeowner photographs sprinkler valve boxes and utility flags before the project begins
Once you know what’s below, protect what’s above. Mark the dig area with white paint, then walk the boundary and note every sprinkler head, valve box, and low spot. Shut the irrigation off at the controller a day or two ahead so you’re not digging in saturated soil. Photograph the marks and the lines you find; those pictures help later when you’re patching things up.
Think about water, too. A new patio or driveway sheds rain onto the lawn around it, and that runoff has to go somewhere. Plan the slope before you pour, and read our guide to fixing standing water in your yard so the new surface doesn’t create a soggy patch next to it.
Equipment is the other lawn killer. Skid steers, wheelbarrow traffic, and stacked pavers pack the soil down hard, and roots struggle in compacted ground. Lay plywood over the paths machines will use, and keep material piles on the driveway when you can. If the damage is already done, our notes on compacted soil along walkways explain when aeration helps.
After the Dig: Repair, Restore and Re-Seed
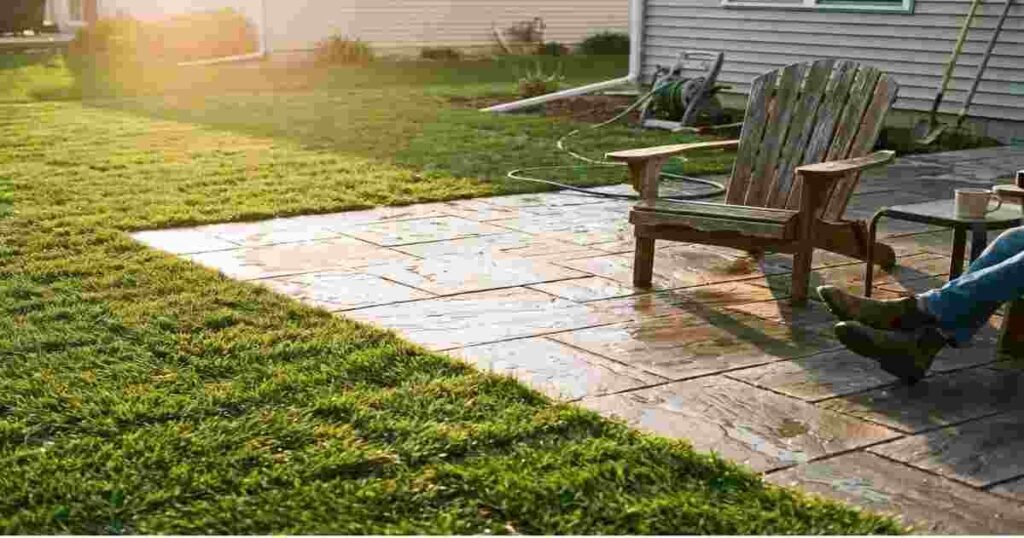
A finished paver patio edged by freshly restored turf
When the work wraps up, the lawn needs attention. Backfill in layers and tamp each one lightly, since loose fill settles and leaves dips along the patio edge. Regrade so water runs away from the house, then patch bare spots with sod or seed. Check every sprinkler head near the work zone, because they’re easy to knock out of line and will water the new pavers instead of the grass.
Then finish with a proper tidy-up. Our overview of what a full yard cleanup covers helps you catch the leftover gravel, stray fasteners and compacted spots that crews tend to skip.
Before you hire anyone, ask three questions:
- Who calls 811, you or the contractor?
- Who locates private lines like irrigation and lighting?
- Who pays if something gets damaged?
Get the answers in writing. A vague reply is a warning sign.
Dig Smart, Keep the Lawn Green
The sequence is simple. Call 811, find the private lines yourself, scan any concrete you plan to cut, and only then pick up the shovel. It adds a few days to the schedule, and it saves a lot of money and a lot of lawn. A patio should add to your yard, not leave a trench across it.