
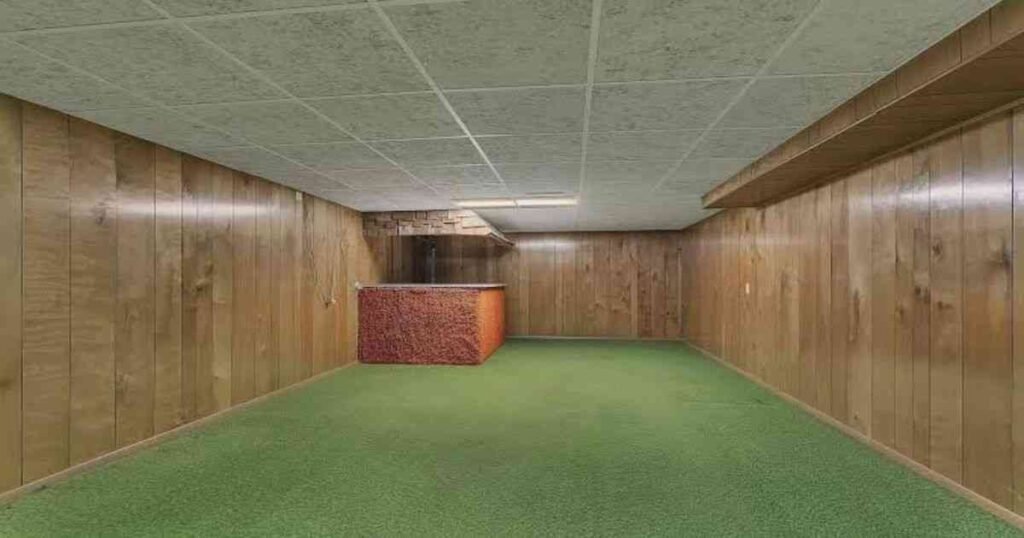
A finished basement can add a bedroom, an office, a gym, or a guest room. Storage is the part many owners wish they had planned better. Once drywall goes up, adding built-ins gets harder and costs more.
Thank you for reading this post, don't forget to subscribe!Here is how to plan the space, the code items, and the cabinets in the right order.
Step 1: Fix Moisture First
Wood, drywall, and carpet do not hold up in a damp basement. Before you plan anything else, check for water.
- Look for stains, white mineral deposits, or flaking paint on concrete walls
- Check for a musty smell after heavy rain
- Tape a 2-foot square of plastic to the floor for 48 hours. Moisture under the plastic points to water coming through the slab
The EPA recommends keeping indoor humidity between 30% and 50%. A dehumidifier and a hygrometer help you stay in that range. Fix grading, gutters, and downspouts outside before you finish inside.
Step 2: Test for Radon
Radon is a gas that comes from soil and can collect in basements. The EPA recommends fixing your home if radon levels reach 4 picocuries per liter or higher. Test kits cost little. Test before you finish so a mitigation system can be installed while walls are still open.
Step 3: Know the Code Basics
Most cities require a permit to finish a basement. Code rules affect your layout, so learn them early.
- Ceiling height: Habitable rooms generally require at least 7 feet under the International Residential Code.
- Bedrooms need an emergency escape opening. Under the IRC, the opening needs at least 5.7 square feet of clear space, 5.0 square feet at grade level, with the sill no higher than 44 inches above the floor.
- Smoke and carbon monoxide alarms are required in many finished basements.
Your local building department has the final word. Call before you draw plans.
Homeowners who hire a basement finishing contractor often ask whether an egress window is worth it for an office. Crews at Brothers Construction in the Denver area explain that a room without one cannot be listed as a bedroom when you sell. If you might ever use the room for sleeping, add the window during the build.
Step 4: Map Your Storage Needs
List what the basement must hold. Be specific.
- Seasonal items like holiday decorations and winter gear
- Sports equipment and tools
- Pantry overflow and bulk goods
- Media equipment, games, and books
- Laundry supplies if the washer and dryer are downstairs
Then mark where each item will go on your floor plan. Plan storage near where you will use it. Put game storage by the TV area. Put pantry shelves near the stairs.
Step 5: Choose Between Stock and Custom Cabinets
Stock cabinets come in set sizes. Base cabinets are usually about 34.5 inches tall and 24 inches deep. Wall cabinets are often 12 inches deep. Stock works well in standard spaces with square walls.
Basements are rarely standard. You may have a support post, a sloped ceiling under stairs, ductwork, or a sump pit to work around. A custom cabinet is built to fit the exact space, including odd corners and soffits. Woodworkers at The Knotty Log in Augusta, Georgia recommend measuring after framing and before drywall, then confirming final measurements once walls are finished.
Ask any cabinet maker these questions:
- What material are the cabinet boxes made of?
- How do you finish the wood for a below-grade space?
- What is the lead time from final measurement to install?
- Who handles installation?
Get the lead time in writing. Build it into your project schedule so the cabinets arrive when the room is ready.
Step 6: Plan Power and Lighting for the Built-Ins
Decide now where you want lights inside or under cabinets, outlets for a bar fridge, or charging stations. Run that wiring before drywall. Adding it later means cutting into finished walls.
Step 7: Use the Space Under the Stairs
The area under a basement staircase is often wasted. Pull-out drawers, a small closet, or open shelving can fit there. Measure the slope of the stairs and the depth carefully. This is one of the spaces where fitted cabinetry pays off most.
A Simple Order to Follow
- Fix water and moisture problems
- Test for radon
- Pull permits and confirm code rules
- Frame the walls
- Measure for cabinets and built-ins
- Run electrical, plumbing, and HVAC
- Insulate and hang drywall
- Install cabinets, flooring, and trim
Follow this order, and you avoid the costly step of tearing out finished work to add what you forgot.