
Key Takeaways
Maximize vibrant foliage by providing bright, indirect sunlight for at least six to eight hours a day.
Thank you for reading this post, don't forget to subscribe!- Maintain steady moisture levels without letting the roots sit in soggy soil.
- Boost ambient humidity around the plant to replicate its native tropical environment.
- Use a well-aerated, fast-draining soil mix to prevent fungal diseases and root rot.
Bringing a brilliantly colored croton into your home adds an instant tropical vibe, but these exotic shrubs require precise conditions to prevent sudden leaf drop. This comprehensive manual covers the lighting, moisture, and environmental strategies you need to master croton care and keep your vibrant foliage flourishing year-round.
Understanding Codiaeum Variegatum Care Basics
Crotons get their striking appearance from their origin in the warm, humid forests of Southeast Asia and Oceania. To cultivate these plants successfully, replicate their native habitat as closely as possible in your living room or patio. Mastering Codiaeum variegatum care requires balancing temperature, humidity, and airflow.
These tropical shrubs despise cold drafts and sudden temperature fluctuations. They prefer environments that remain consistently between 60°F and 80°F. If temperatures dip below 55°F, the plant will likely suffer tissue damage and drop its leaves in protest.
| Care Factor | Ideal Conditions | Warning Signs of Imbalance |
| Temperature | 60°F – 80°F | Wilting, sudden leaf drop, stunted growth |
| Humidity | 40% – 80% | Crispy leaf edges, dull foliage color |
| Airflow | Gentle, consistent | Fungal spots, pest vulnerabilities |
Repotting is generally necessary only every two to three years. Wait until you see roots actively growing out of the bottom drainage holes before sizing up your container. Upgrading to a pot just one to two inches larger prevents excess soil from holding unused moisture around the root ball.
Perfecting Your Croton Light Requirements
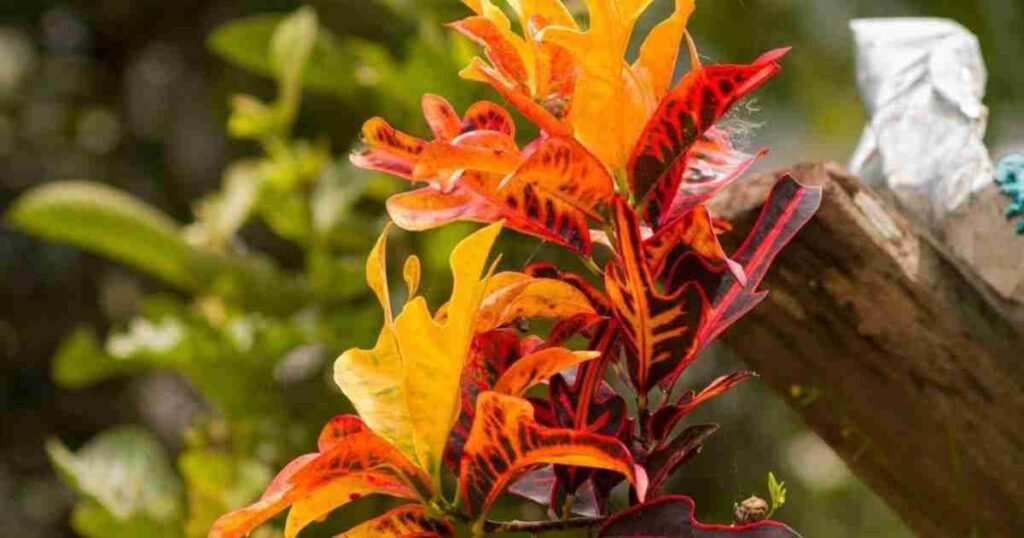
Lighting dictates the intensity of the reds, oranges, yellows, and purples on your plant’s foliage. Meeting exact croton light requirements keeps those colors vivid and distinct. Place your plant near a south-facing or east-facing window where it gets plenty of bright, indirect sunlight.
If a croton sits in heavy shade, the new leaves will emerge completely green and existing colors will fade. Conversely, harsh, direct afternoon sun can scorch the foliage, leaving bleached or brown patches. Rotate the pot a quarter turn every few weeks so all sides receive equal light exposure.
- Provide 6 to 8 hours of bright, filtered light daily.
- Use sheer curtains to diffuse intense midday sun.
- Supplement with a full-spectrum grow light during dark winter months.
Establishing a Consistent Croton Watering Schedule
Watering is where many new plant owners stumble, as this species demands a careful moisture balance. An effective croton watering schedule involves soaking the soil thoroughly, then letting the top couple of inches dry out before the next drink. Stick your finger into the earth; if it feels dry up to your second knuckle, it is time to water.
Overwatering leads directly to root rot, suffocating the plant from the bottom up. Underwatering causes the plant to wilt dramatically and shed its lower foliage to conserve energy. During the active growing seasons of spring and summer, you will need to water more frequently.
When autumn and winter arrive, the plant’s growth slows down naturally. Reduce watering during these dormant months, but never let the soil dry out completely. Always use room-temperature water to avoid shocking the sensitive root system.
Tap water quality can affect your foliage health. If your municipal water is high in chlorine or fluoride, consider leaving the watering can out overnight to let harsh chemicals dissipate. Alternatively, using filtered or distilled water prevents mineral buildup in the soil over time.
Choosing the Right Potting Soil for Crotons
The foundation of a healthy shrub lies beneath the surface. Selecting the ideal potting soil for crotons prevents waterlogging while delivering necessary nutrients. You want a mixture that drains quickly but holds just enough moisture to keep the roots hydrated.
Standard indoor plant soil is usually too dense on its own. Create an aerated mix by blending standard potting earth with organic matter and drainage amendments. This allows roots to breathe and prevents water from pooling at the bottom of the pot.
Ideal Soil Mixture Recipe:
- 50% high-quality organic potting soil
- 30% perlite or pumice for enhanced drainage
- 20% peat moss or coco coir for moisture retention
Always ensure your chosen container features at least one large drainage hole. Even the best soil mixture will fail if excess water has nowhere to escape.
How to Care for Crotons Indoors
Adapting a tropical shrub to average household conditions takes a bit of strategy. When figuring out how to care for crotons indoors, humidity management is your biggest hurdle. Most homes have dry air, especially when winter heating systems are running.
Boost the ambient moisture around your plant to keep the leaves glossy and prevent dry, brown edges. Place a humidifier nearby, group multiple houseplants together, or set the pot on a tray filled with pebbles and water. Ensure the base of the pot sits above the water line, not directly in it.
Fertilize your indoor croton once a month during the spring and summer using a balanced liquid fertilizer diluted to half strength. Stop feeding entirely during the fall and winter when the plant rests. Wipe the large leaves down with a damp cloth every few weeks to remove dust and maximize photosynthesis.
Pruning helps maintain a compact, bushy shape rather than letting the shrub become leggy and sparse. Trim back overgrown stems in early spring just above a leaf node to encourage branching. Always wear gloves when pruning, as the white sap inside the stems is toxic and can irritate sensitive skin.
Troubleshooting Common Plant Issues
Even with diligent care, you might encounter a few hiccups along the way. Leaf drop is the most frequent complaint and usually signifies environmental shock. If you just brought the croton home, moved it to a new room, or drastically changed its watering routine, it will likely shed leaves in response to stress.
Keep the plant in one stable location and maintain consistent care; it will eventually recover and sprout new growth. If you notice the vibrant reds and yellows slowly turning dull green, your plant is telling you it needs more light. Relocate it closer to a window to restore its signature coloration.
Drooping leaves that feel soft and limp usually indicate severe thirst, whereas yellowing leaves at the bottom of the stem point to chronic overwatering. Check the soil moisture immediately to diagnose which direction you need to correct.
Managing Pest Outbreaks
Spider mites and mealybugs are the most persistent threats to indoor tropical shrubs. These insects thrive in dry indoor heating and target stressed plants first. Regularly inspect the undersides of the leaves for tiny webbing or white, cotton-like masses near the stem joints.
Treat minor infestations quickly by wiping the foliage down with a diluted neem oil solution or insecticidal soap. Maintaining high ambient humidity remains the best preventative measure against these sap-sucking pests.
Thriving Tropical Foliage Awaits
Cultivating a spectacular croton is an incredibly rewarding experience that brings a dynamic splash of nature into your space. By respecting its tropical origins and providing steady warmth, bright filtered light, and balanced moisture, you prevent the common pitfalls that plague many indoor gardeners. Stay observant, adjust your care routines as the seasons shift, and your colorful shrub will remain a vibrant focal point in your home for years to come.