
- 1. Choose Fixed Photo Locations
- 2. Decide How You Will Store the Journal
- 3. Photograph the Garden on a Schedule
- 4. Record the Date and Weather
- 5. Create Before-and-After Records
- 6. Document Individual Plants
- 7. Photograph Problems Before Treating Them
- 8. Track Sunlight Through Photos
- 9. Photograph Lawn Performance
- 10. Use Labels in Complex Areas
- 11. Include Measurements With Visual Records
- 12. Review the Journal Before Planning Next Season
- Turn Garden Photos Into Useful Data
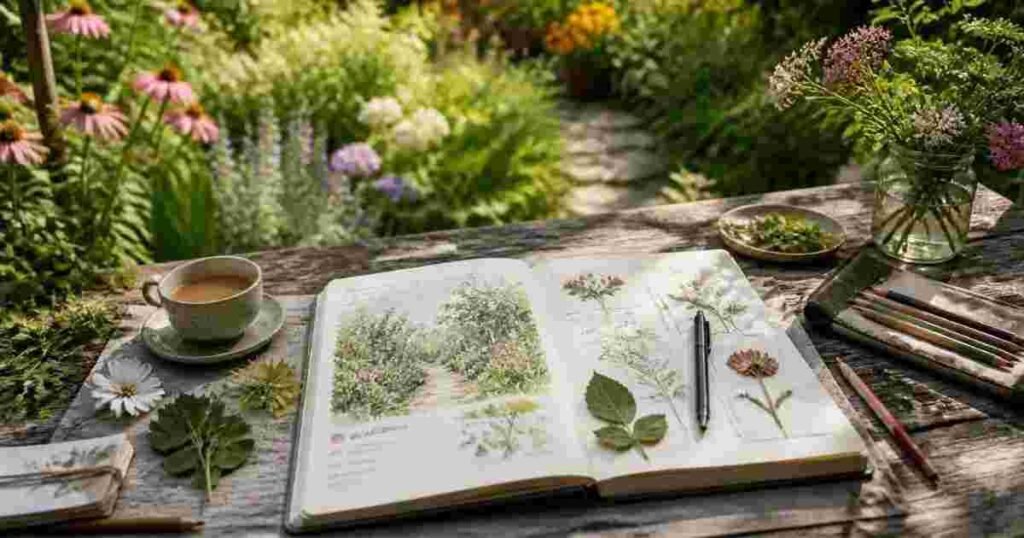
A garden changes constantly. Plants fill out, flowers appear and fade, problem areas become obvious, and seasonal conditions affect how different parts of the yard perform.
Thank you for reading this post, don't forget to subscribe!A visual garden journal helps document those changes in a way that notes alone cannot. By combining photographs with dates, plant information, weather observations, and maintenance records, you can build a useful reference for future planting and design decisions.
The key is consistency. A few well-planned photographs taken regularly are more useful than hundreds of random images with no context.
- 1. Choose Fixed Photo Locations
- 2. Decide How You Will Store the Journal
- 3. Photograph the Garden on a Schedule
- 4. Record the Date and Weather
- 5. Create Before-and-After Records
- 6. Document Individual Plants
- 7. Photograph Problems Before Treating Them
- 8. Track Sunlight Through Photos
- 9. Photograph Lawn Performance
- 10. Use Labels in Complex Areas
- 11. Include Measurements With Visual Records
- 12. Review the Journal Before Planning Next Season
- Turn Garden Photos Into Useful Data
1. Choose Fixed Photo Locations
Start by identifying several places where you can take the same photograph throughout the year.
These fixed viewpoints make it much easier to see how the garden develops over time.
Choose locations that capture important areas such as the front lawn, main flower beds, vegetable garden, patio, tree line, or a problem area you are trying to improve.
Mark the locations on a simple yard sketch or save them as notes on your phone.
Try to stand at approximately the same height and angle each time.
That creates a more accurate visual comparison.
2. Decide How You Will Store the Journal
A visual journal can be completely digital, printed, or a combination of both.
Digital folders are useful for storing large numbers of photographs and organizing them by month, season, or garden area.
Printed photo books can work well for creating an annual garden record that combines seasonal photographs, notes, planting plans, and before-and-after images in one physical format.
For long-term use, keep the original image files even if you create a printed version.
A photo book can provide an easy overview, while the full-resolution digital files remain available for closer inspection later.
3. Photograph the Garden on a Schedule
A garden journal becomes much more useful when photographs follow a consistent schedule.
Monthly photography works well for general landscaping.
For vegetable gardens, seedlings, newly planted beds, or fast-growing areas, weekly or biweekly photographs may provide more useful information.
A Simple Photography Schedule Might Include
- Early spring before major growth
- Mid-spring during active planting
- Early summer
- Peak summer
- Early fall
- Late fall after cleanup
- Winter structure and dormant beds
Add extra photographs after major storms, drought periods, pruning, landscaping projects, or other significant changes.
4. Record the Date and Weather
Photographs show what happened, but they do not always explain why.
Add the date and basic weather conditions to each entry.
Record unusually hot periods, heavy rainfall, frost, strong wind, or extended dry weather.
This information becomes valuable when comparing plant performance between years.
For example, a perennial that flowered poorly one season may have experienced late frost rather than a soil or maintenance problem.
Over time, the visual record can reveal patterns that would otherwise be difficult to remember.
5. Create Before-and-After Records
Whenever you make a significant change, take a photograph before work begins.
Then photograph the area immediately afterward and again several weeks or months later.
This works especially well for projects such as replacing lawn sections, creating new beds, changing edging, adding mulch, pruning shrubs, installing irrigation, or removing invasive plants.
Use the same viewpoint for every image.
A true before-and-after comparison is much more useful when the framing remains consistent.
6. Document Individual Plants
Wide garden photographs show the overall landscape, but individual plant records provide more detailed information.
Photograph new plants when they are installed.
Include a second image showing the plant label when possible.
Record Details Such As
- Plant name and variety
- Planting date
- Location
- Sun exposure
- Approximate mature size
- Soil conditions
- Watering schedule
- Fertilizer or amendments used
Take additional photographs during flowering, fruiting, pruning, or periods of stress.
This can help you identify which varieties perform best in specific parts of the garden.
7. Photograph Problems Before Treating Them
When a plant develops discoloration, leaf damage, unusual growth, or pest activity, photograph the problem before applying treatment.
Take one image showing the entire plant and a second close-up of the affected area.
Document what you tried afterward.
That might include pruning, watering changes, fertilizer, pest control, soil amendments, or relocation.
Photograph the plant again several days or weeks later.
This creates a useful history of what worked and what did not.
It can also make it easier to explain the problem to a garden center, extension service, or landscape professional.
8. Track Sunlight Through Photos
Light conditions can change dramatically throughout the year.
Trees leaf out, buildings create longer winter shadows, and neighboring plants grow taller.
Take photographs of important garden areas at different times of day.
Morning, midday, and late-afternoon images can help reveal how much direct light each area actually receives.
Repeat this during different seasons.
A bed that receives six hours of sun in April may receive less once nearby trees develop a full canopy.
This information can prevent poor plant placement.
9. Photograph Lawn Performance
Include the lawn in the journal rather than focusing only on ornamental plants.
Take wide photographs that show color, density, bare patches, drainage issues, and shaded areas.
Use closer photographs for weeds, fungal problems, insect damage, or thinning grass.
Record mowing height, fertilizer applications, overseeding dates, aeration, watering changes, and other lawn treatments.
Over several seasons, the photographs can show whether maintenance changes are improving turf quality.
10. Use Labels in Complex Areas
Large gardens can become difficult to document if several beds look similar.
Use temporary numbered markers when photographing complicated planting areas.
The number can correspond to a note in the journal describing that plant or section.
You can also photograph a small whiteboard or card at the beginning of a sequence showing the bed name and date.
This makes image organization much easier later.
Remove temporary markers after photography if they are not part of the normal garden design.
11. Include Measurements With Visual Records
Photographs can distort scale.
If you are tracking plant growth, lawn damage, erosion, or construction work, include measurements.
For a shrub, record height and approximate spread.
For a bare lawn patch, measure the affected area.
For a new garden bed, note width and length.
Measurements make the photographs more useful for comparing progress over time.
12. Review the Journal Before Planning Next Season
Do not create a garden journal only to store it.
Review the previous year’s photographs before buying plants or starting major spring work.
Look for areas that remained bare too long, plants that outgrew their space, sections that lacked color during certain months, and recurring maintenance problems.
Use that information to create next year’s plan.
A visual record can show that a bed looked excellent in spring but had almost no interest by August. That immediately suggests where later-blooming plants may be useful.
Turn Garden Photos Into Useful Data
A visual garden journal should be more than a collection of attractive photographs.
Use consistent viewpoints, regular dates, plant records, weather notes, and before-and-after comparisons so the images actually support better garden decisions.
Over several years, the journal becomes a detailed record of what thrives, what fails, and how the property changes through different seasons.
That information can help with everything from plant selection and lawn care to irrigation, pruning, and landscape design.
The more consistent the documentation becomes, the easier it is to make improvements based on evidence rather than memory.